Special activities · Article 04
Fiscal markings
Applies to Odoo 19 · 20
Some products cannot be sold without a marking applied to them: the excise band on cigarettes and spirits, the stamp, the importer label. In Odoo, a marking is an ordinary storable product: you order it, receive it and keep it in stock. On the marked product you declare which markings it needs and how many per unit; when the goods are received, Odoo prepares the labelling job, and when it is validated the markings leave the stock. For excise bands that require customs approval, the order note tracks the approval and triggers the order to the printing house.
When to use
- You order excise bands from the printing house, with the prior approval of the customs authority.
- You receive goods that must be banded or labelled in the warehouse.
- You send excise bands to the EU supplier, who applies them before shipping.
- You want the value of the excise bands to be included in the cost of the goods.
Before you start
- The marking exists as a storable product, with its unit (unit, roll), and has a replenishment route (purchase from the printing house).
- On the marked product, Markings tab, add one line for each marking: Marking (the marking product), Type (Stamp / Excise band or Label) and Qty per Unit. The quantity is expressed in the reference unit: one band per pack means 1, even if the goods are purchased by the case.
- All declared markings are visible in Inventory › Configuration › Products › Product Markings.
- For bands that require approval, tick Needs an Order Note on the marking line.
Steps in Odoo
1. Create the order note
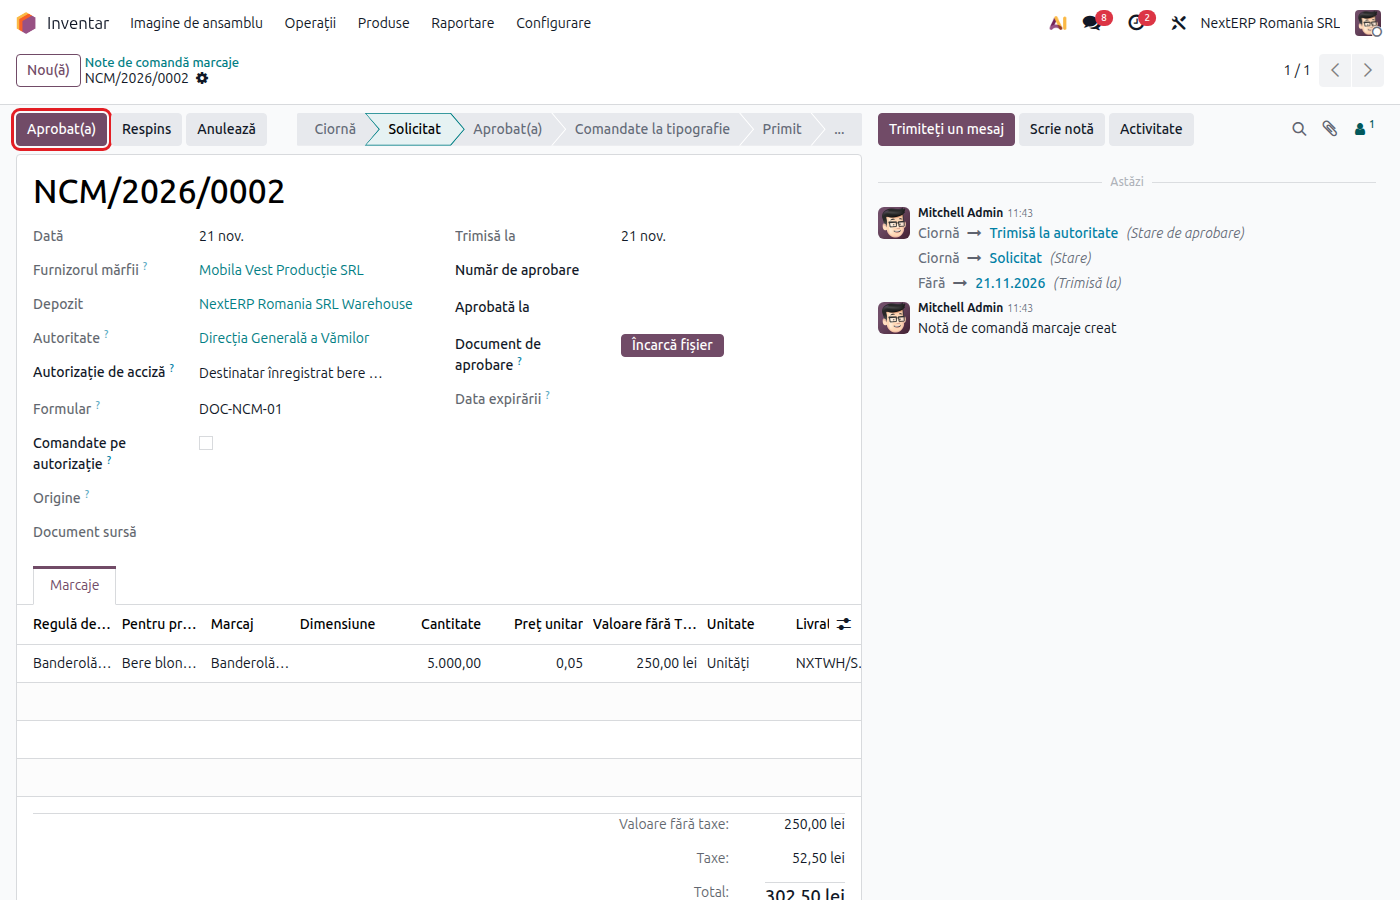
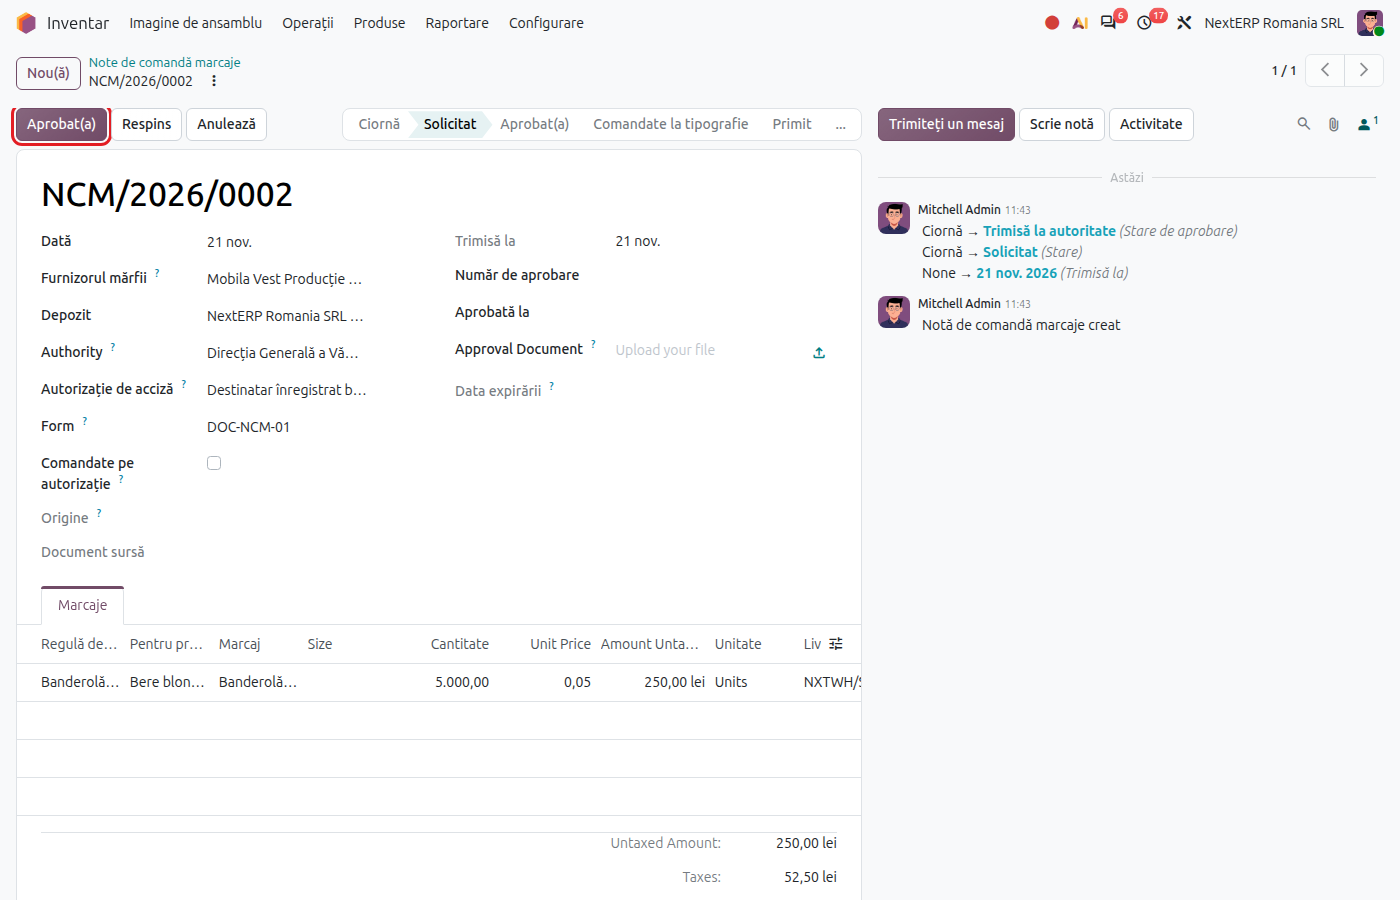
Inventory › Operations › Markings › Orders, click New. Fill in the warehouse, Goods Vendor, Authorization (the excise authorization number) and the lines with Marking Rule and the quantity. The note can also be created automatically, when a receipt requires markings that need approval.
2. Send the note to the authority
Click Submit to the Authority and print the note from Print › Order Note for customs. Authority and Form are taken from the company's last note. A note cannot be deleted, not even in draft: its number is part of a series seen by the authority. A note you no longer need is cancelled.
3. Record the approval and request the markings
When you receive the approval, click Approved and fill in Approved On and Approval Number. The approval triggers replenishment: Odoo creates the purchase order to the printing house for the approved quantities (the Ask For The Markings button relaunches it if needed). The buttons in the header lead to the purchases, Transfers and Consumptions.
4. Receive the goods
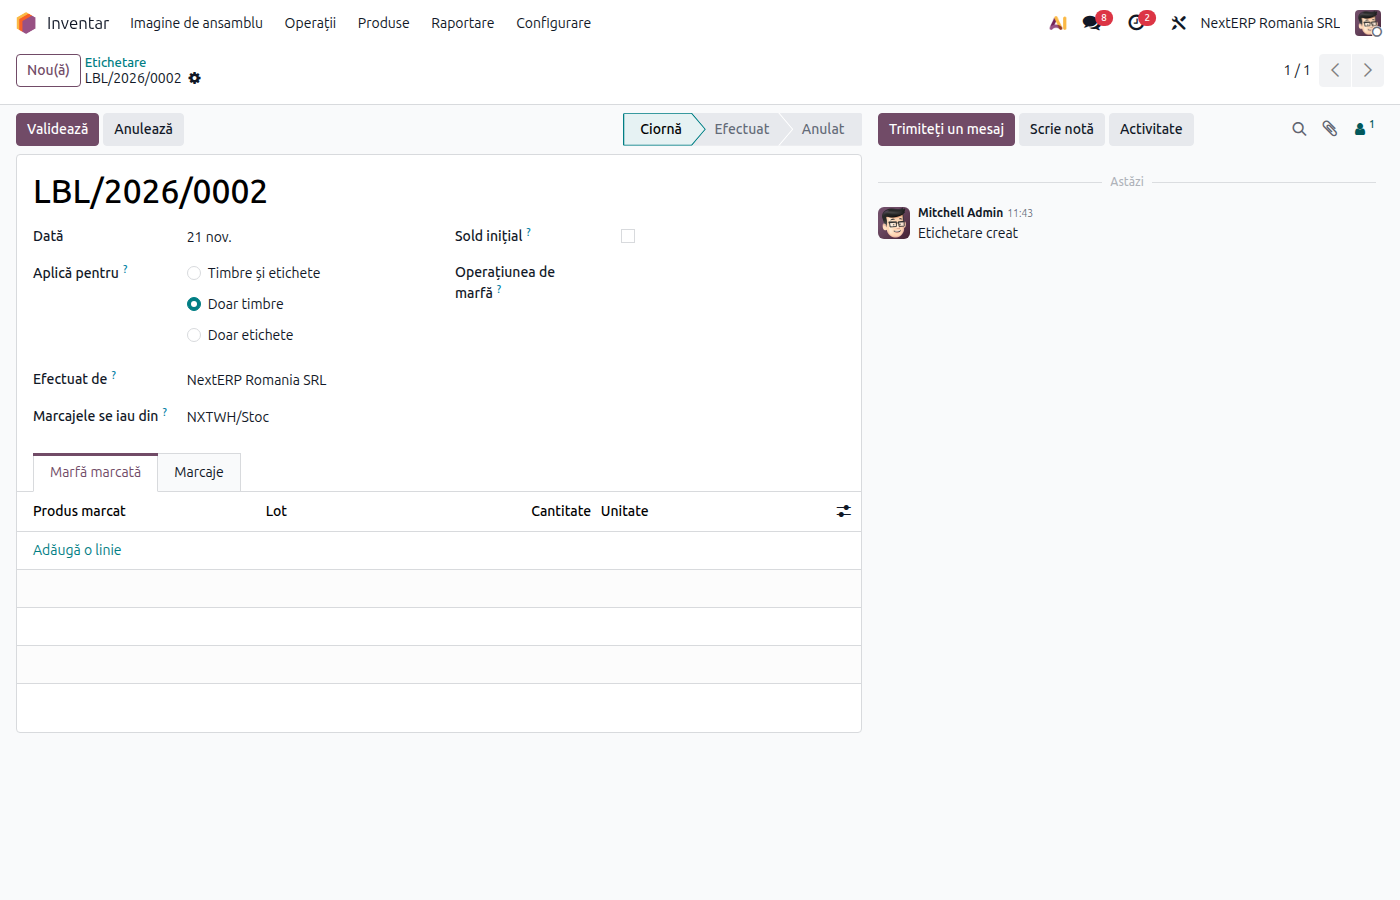
When the receipt of the marked goods is validated, Odoo creates a draft labelling job for what must be applied in the warehouse, with the marking quantities calculated from the pieces received.
5. Validate the labelling
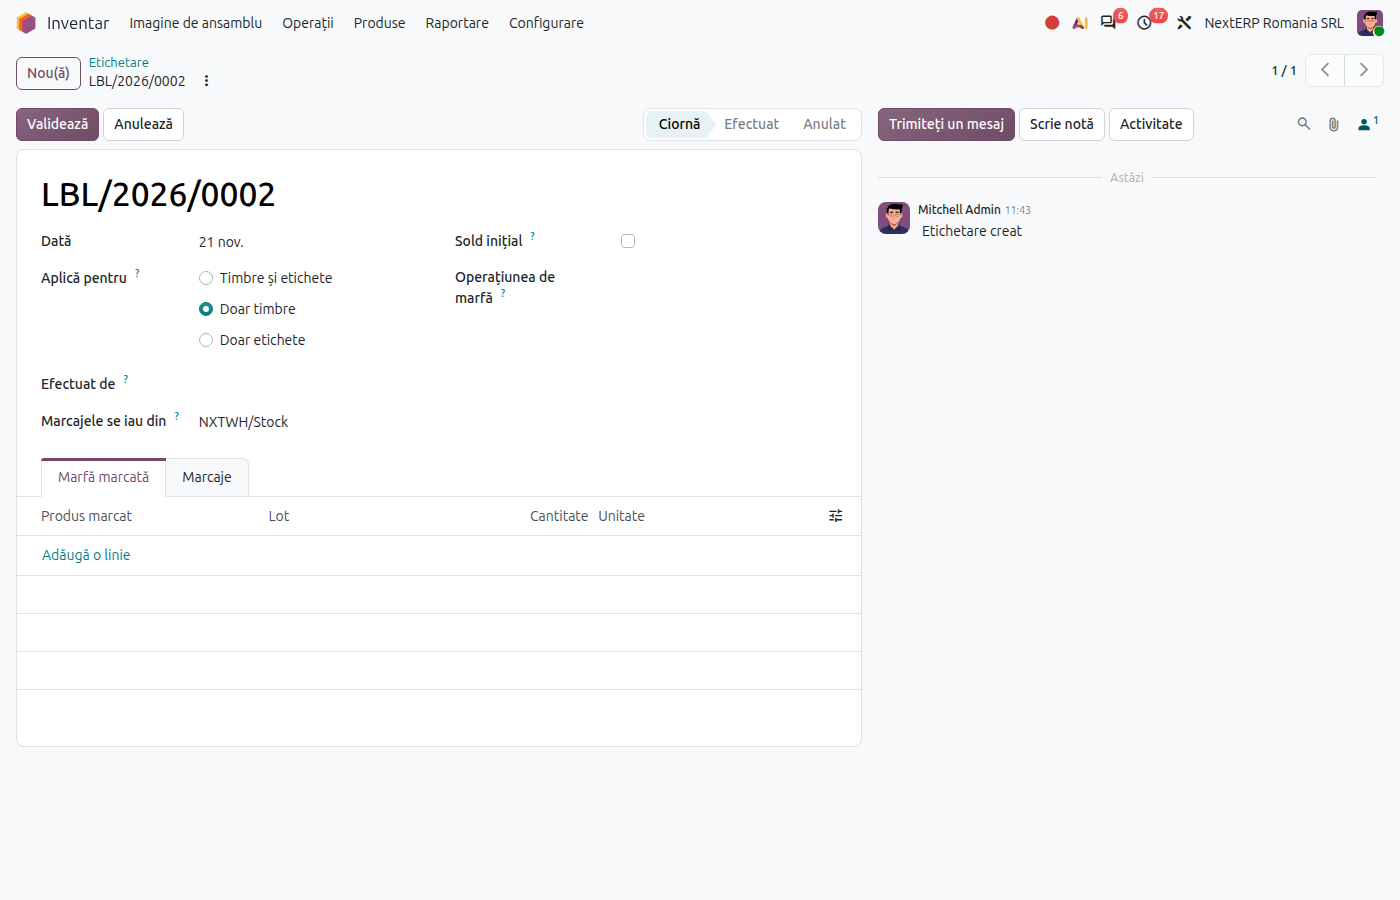
Inventory › Operations › Markings › Labelling, open the job, check the quantities in the Markings tab (damaged bands, partial marking) and click Validate. The markings then leave the stock, and the lots of the goods appear as marked.
Variants
Markings applied by the supplier
On the purchase order, the Markings Arrive field states which markings the goods have on arrival. Bands sent to the supplier are kept in a location of the supplier; at receipt, Odoo consumes them from the stock there, not from your own warehouse. A location can be set to Goods arrive marked in the location's Markings field, so that everything entering it is considered marked.
Labelling without a receipt
For goods already in stock (re-banding, labelling before delivery), create a job directly in Labelling: choose Markings Taken From, add the goods and validate. The job is closed immediately, as it records an operation already done.
Automatic replenishment of markings
On the marking line tick Replenish with the Goods and choose Ask For Them At (Receipt confirmation or Purchase order confirmation) and Quantity to Replenish (Only what is missing or Full quantity). The Marking Supply button on the order or receipt shows everything that was requested.
Cost of the excise bands in the value of the goods
Tick Capitalise on Goods on the marking line. When the labelling is validated, a draft landed cost is created on the receipt of the goods; validate it from Inventory › Operations › Adjustments › Landed Costs.
Excise covered by the bands
On the order note, Print › Excise and markings shows, line by line, the goods covered by the bands, the excise due on them at the rates of the day, the value of the bands and the authorization's guarantee, with a warning if the excise exceeds the guarantee.
Common mistakes
- Quantity per unit in the purchase unit. One band per pack entered as 10 for a case of 10 packs multiplies the consumption. Use the reference unit.
- Labelling job left in draft. The stock of bands looks higher than it is. Validate the jobs after applying; Inventory › Operations › Markings › Marking Status shows what is still to be marked.
- Marking without a replenishment route. Approving the note creates no order, and the reason appears in the document's history. Add the vendor on the marking product.
For the accountant: accounting entries
Example: excise bands bought for 500 lei, applied in full to the goods.
On receipt of the bands (without VAT, for simplicity):
| DEBIT | CREDIT |
|---|---|
| 302 — 500 | 401 — 500 |
On validation of the labelling — consumption of the bands, based on the account of the marking product's category:
| DEBIT | CREDIT |
|---|---|
| 602 — 500 | 302 — 500 |
With Capitalise on Goods, on validation of the landed cost, the value moves into the cost of the goods:
| DEBIT | CREDIT |
|---|---|
| 371 — 500 | 602 — 500 |
The exact accounts depend on the category of the marking product (consumables or other materials). The record of approvals and of deliveries over the last six months by authorization is printed from the order note (Print › Deliveries, last six months).